The Ultimate Guide to Building Your Own “Digital Employee”
Welcome to the laboratory of automation! If you are reading this, you’ve likely realized that n8n is a powerhouse for connecting apps. But to make n8n truly “smart,” it needs to talk to the tools you use every day – especially the Google suite (Drive, Sheets, Gmail, etc.).
In this lesson, I will teach you how to bridge the gap between n8n and Google. We will use the Google Drive API as our example to set up an automated backup system for your workflows, but the skills you learn here can be applied to almost any Google service.
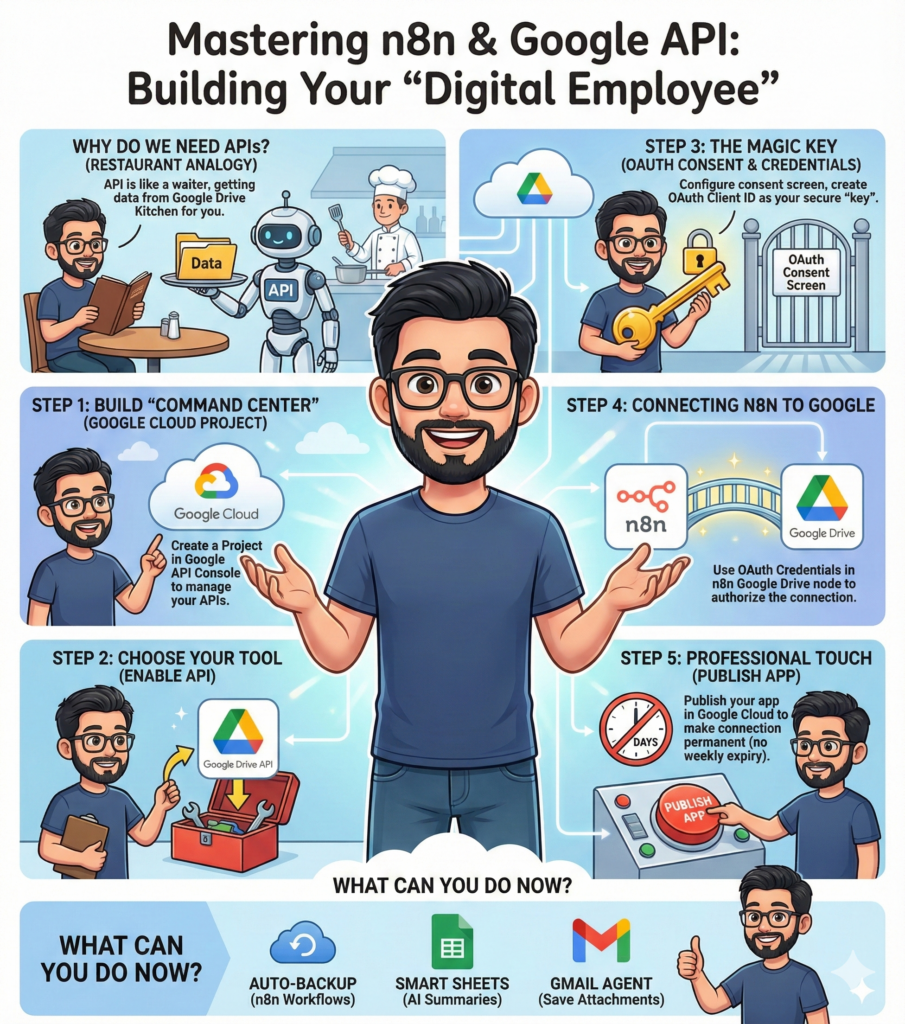
Why Do We Need APIs?
Think of an API (Application Programming Interface) as a waiter in a restaurant. You (n8n) are the customer, and the kitchen (Google Drive) has the data you want. You don’t just walk into the kitchen; you give your order to the waiter, who brings the food back to you.
[IMAGE NEEDED: An illustration showing n8n as a person sitting at a table, a “Google Drive” kitchen in the background, and a friendly robot waiter labeled “API” carrying a data folder.]
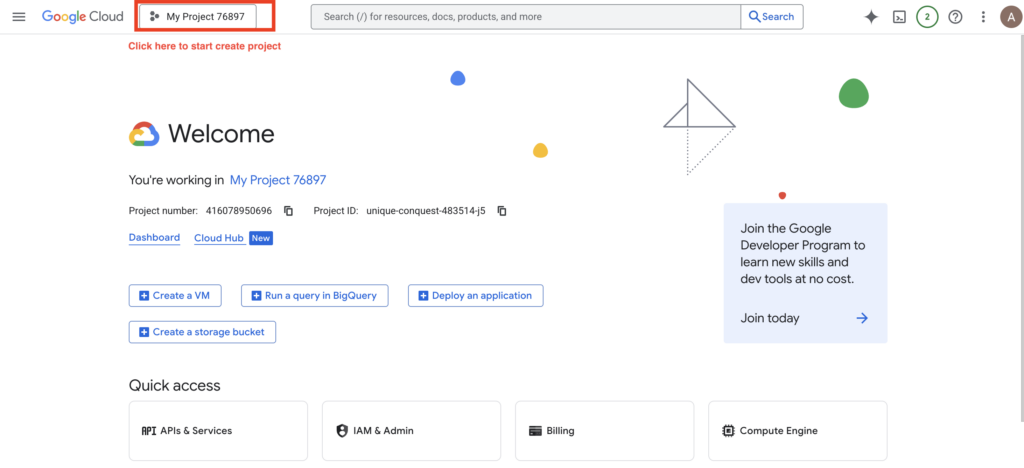
Step 1: Building Your “Command Center” (Google Cloud Project)
Before we can use an API, we need a place to manage it. In Google’s world, this is called a Project.
- Go to the Google API Console.
- If it’s your first time, agree to the terms.
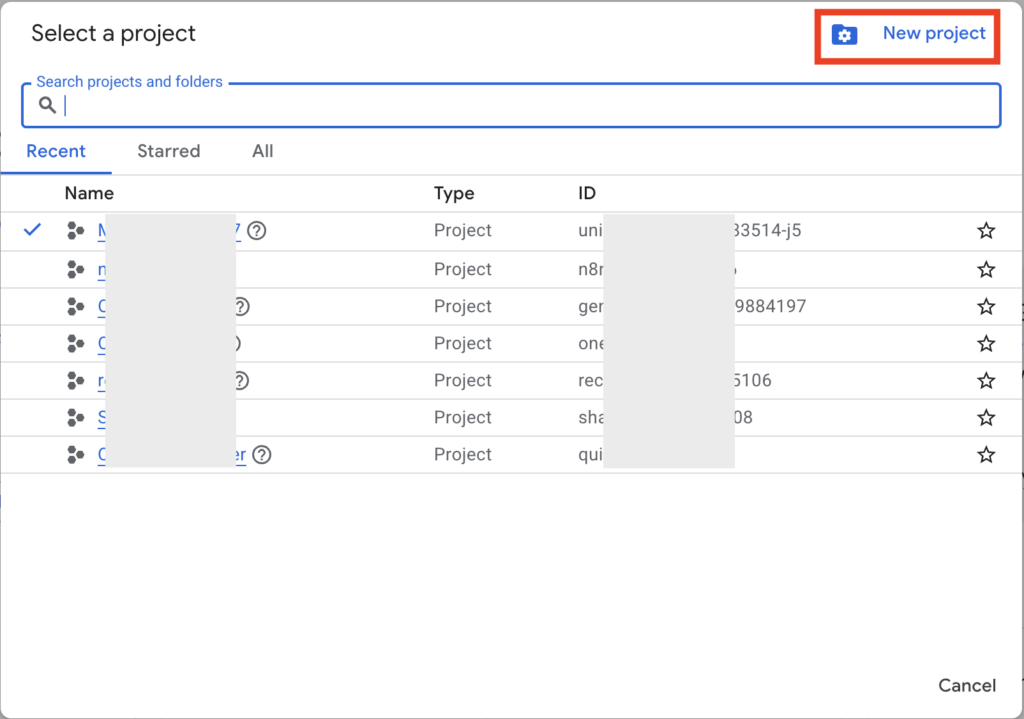
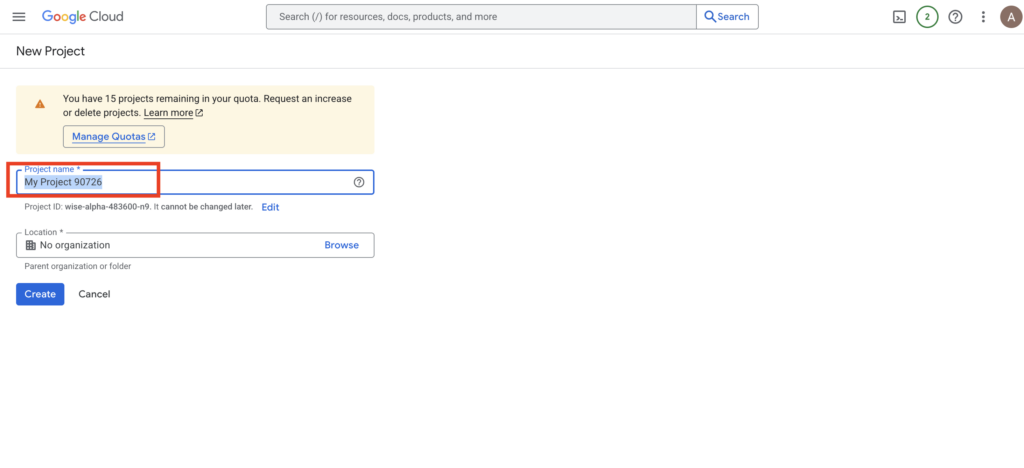
- Click “Create Project”. Give it a meaningful name like
My-n8n-Automation.
Pro Tip: You might see a “Get $300 Credit” banner. If you’re just starting, don’t click it yet! The 90-day timer starts immediately once you claim it. Most basic Google APIs (like Drive and Sheets) have a very generous free tier that doesn’t require this credit.
Step 2: Choosing Your Tool (Enabling the API)
A project is like an empty toolbox. Now, we need to put the Google Drive API tool inside it.
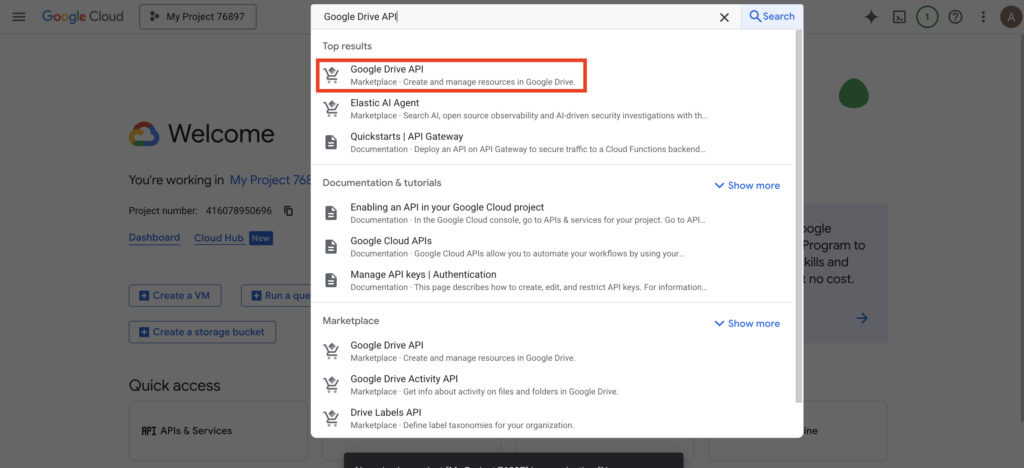
- In the search bar at the top, type “Google Drive API”.
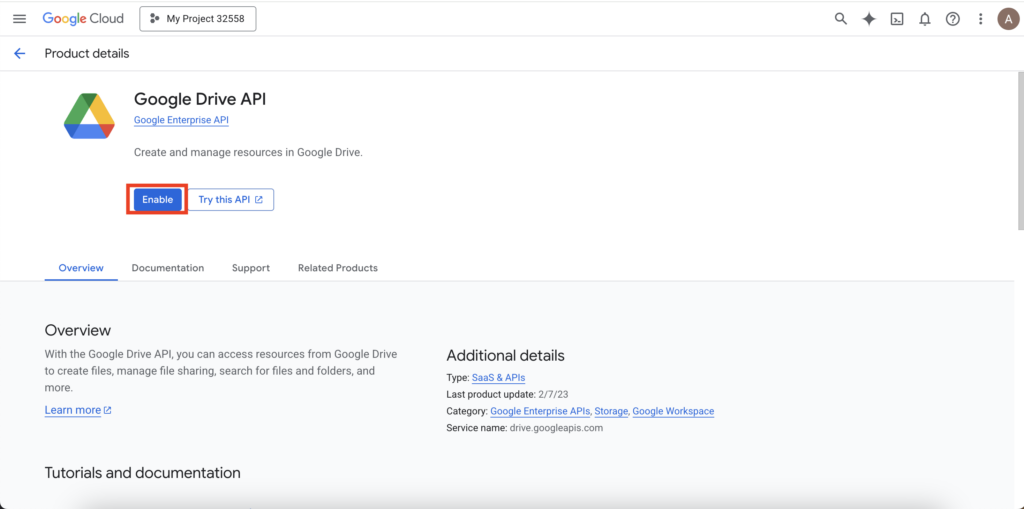
- Select it from the results and click the blue “Enable” button.
Now your project “knows” how to speak the language of Google Drive. If you wanted to automate your calendar later, you would repeat this step for the “Google Calendar API.”
Step 3: The Magic Key (OAuth Consent & Credentials)
This is where most beginners get stuck, but it’s just about safety. We need to create a “Key” (Credentials) so Google knows it’s really your n8n asking for data.
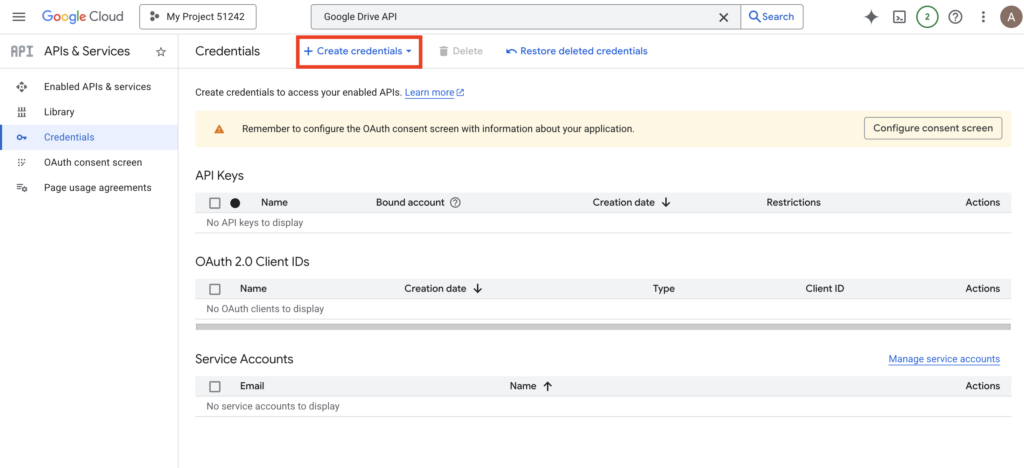
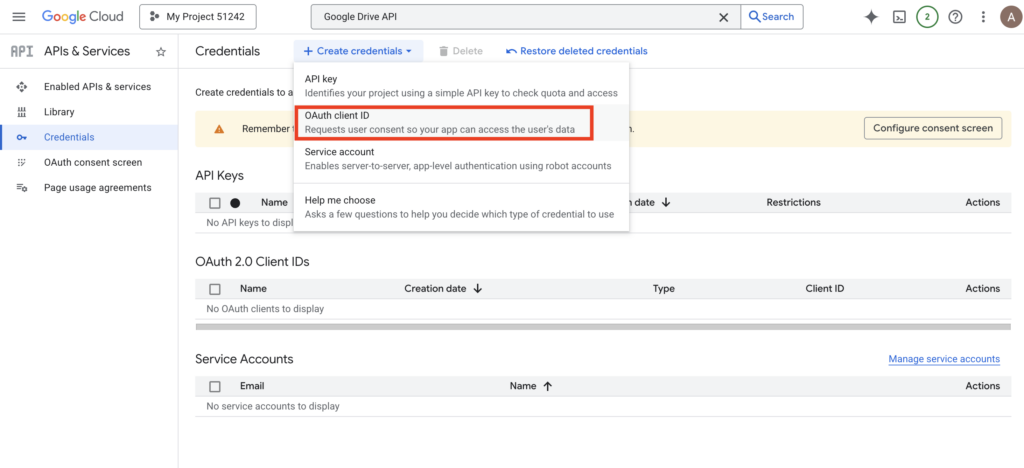
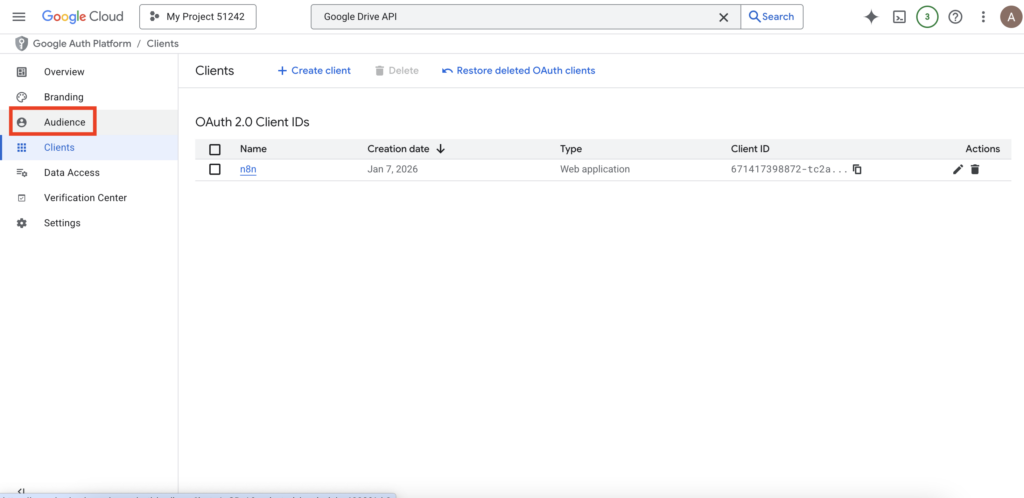
1. Enter Credentials Page: After enabling the API, click “Credentials” in the left sidebar.

2. Start Creating Credentials: Click “Create Credentials” at the top and select “OAuth client ID”.
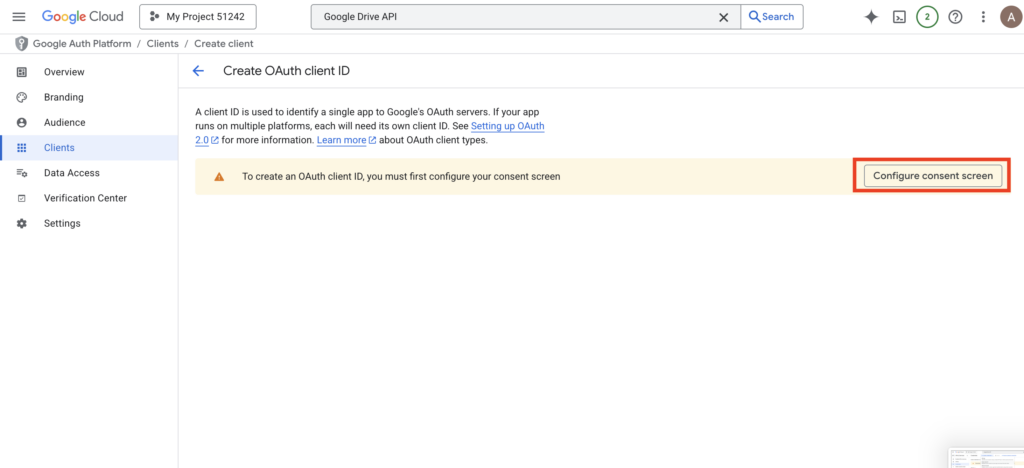
3. Configure Consent Screen (if setting up for the first time):
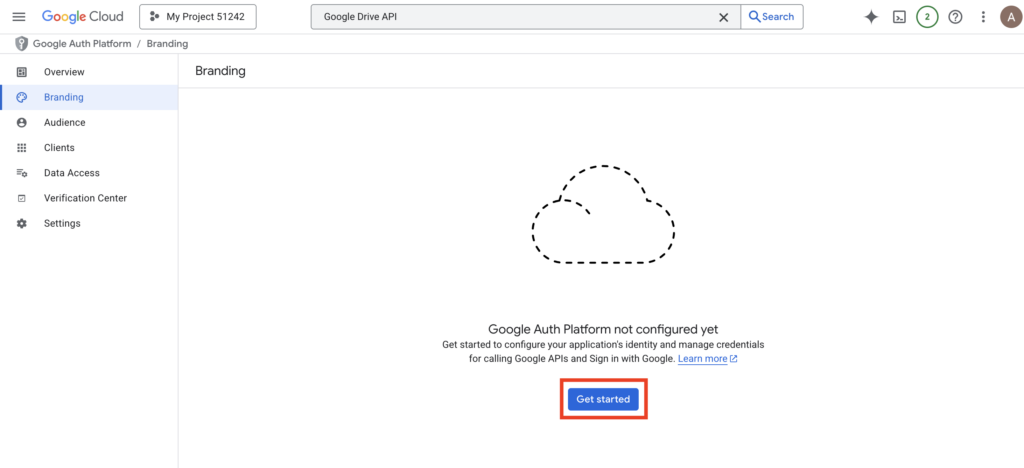
- Click “Configure Consent Screen” to begin.
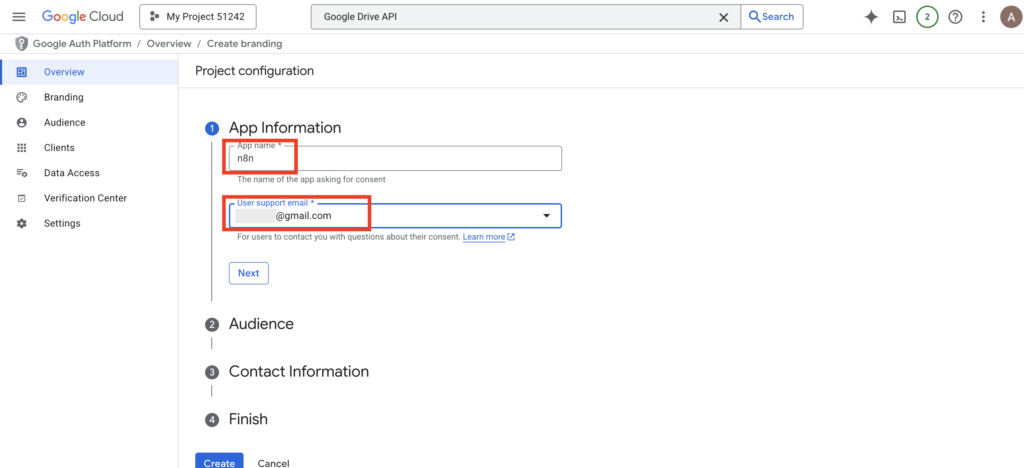
- Enter an App Name (for your reference) and User Support Email (select your own), then click Next.
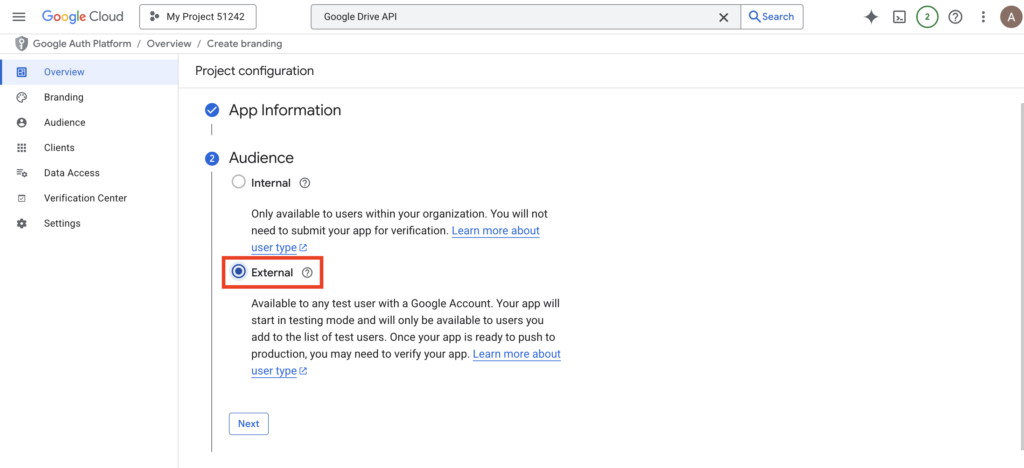
- Choose “External” for User Type and click Next.
- Provide Developer Contact Information (enter your email) and click Next.
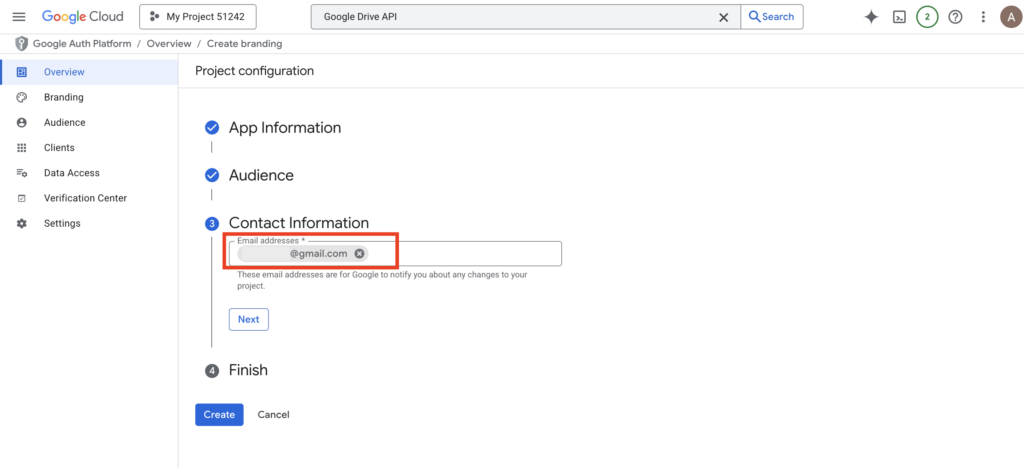
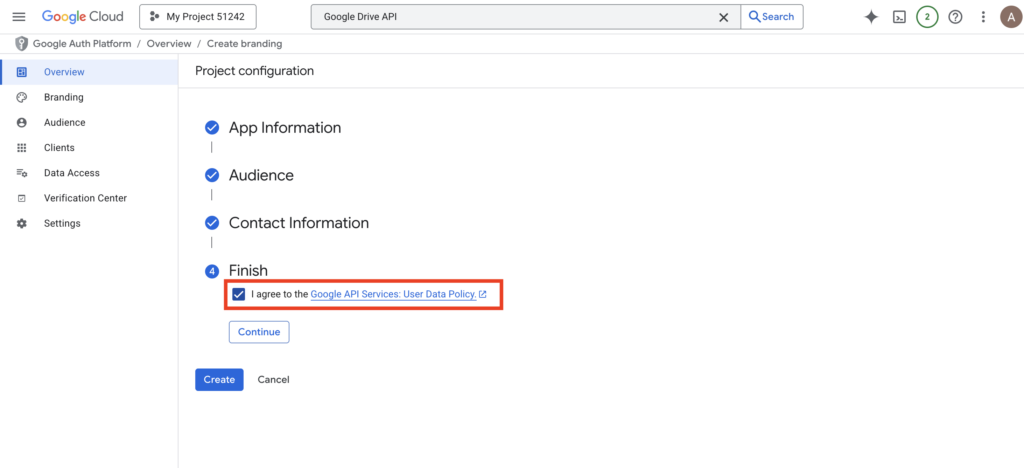
- Agree to the service terms and click “Continue”. Click “Create” to finalize the screen setup.
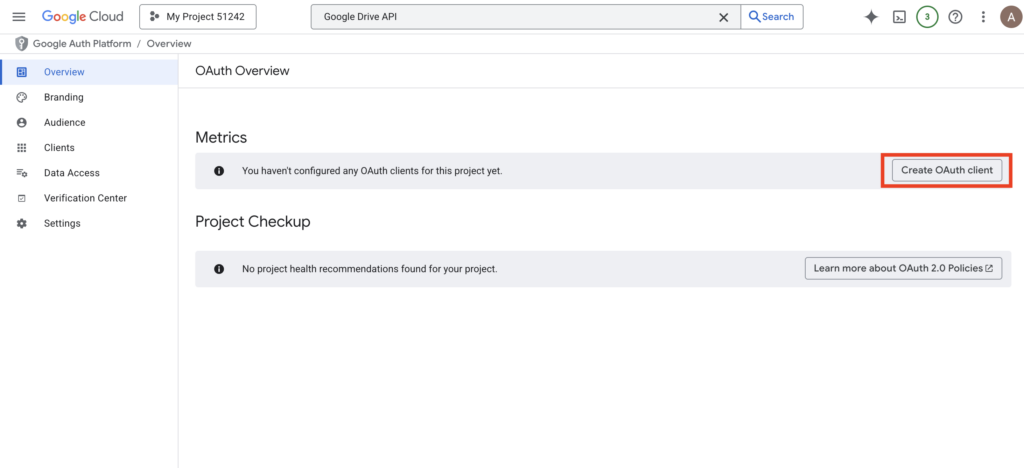
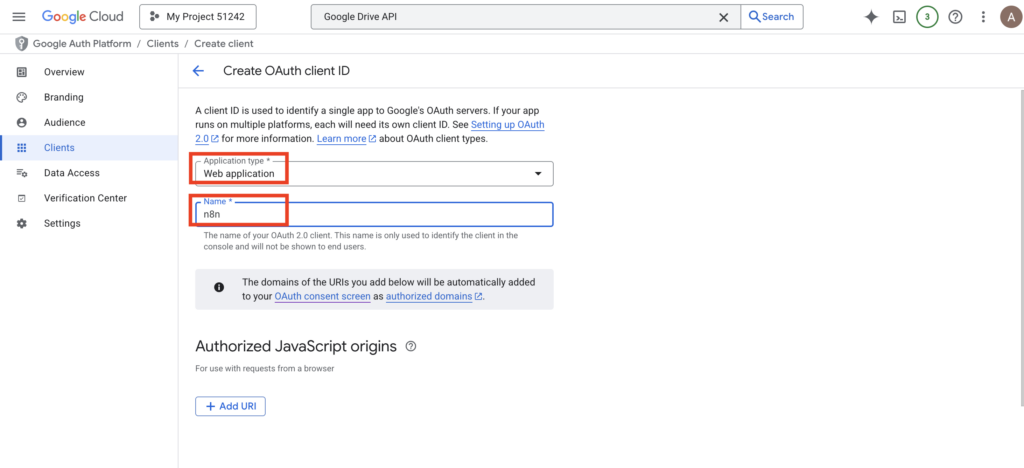
4. Create the OAuth Client ID:
- Click “Create Credentials” again and select “OAuth client ID”.
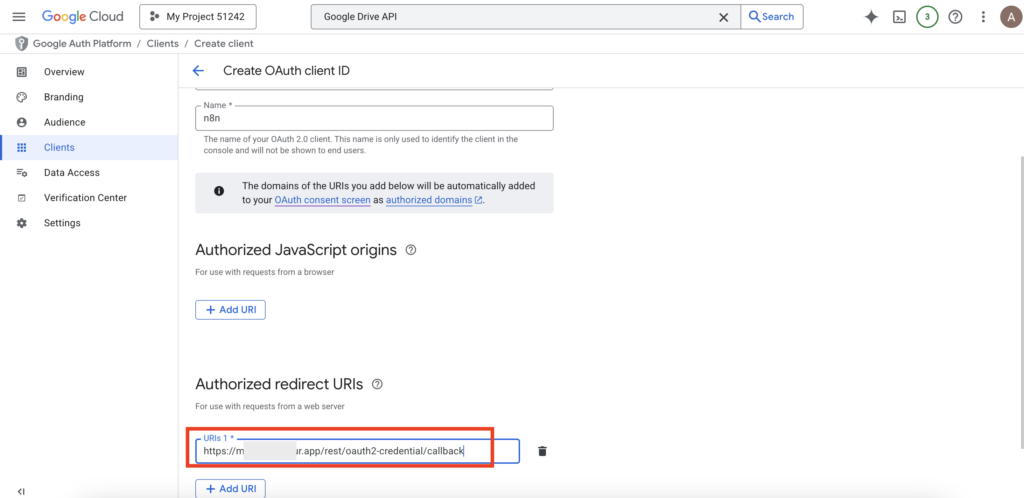
- Application Type: Select “Web application”.
- Name: Enter a memorable name for this connection.
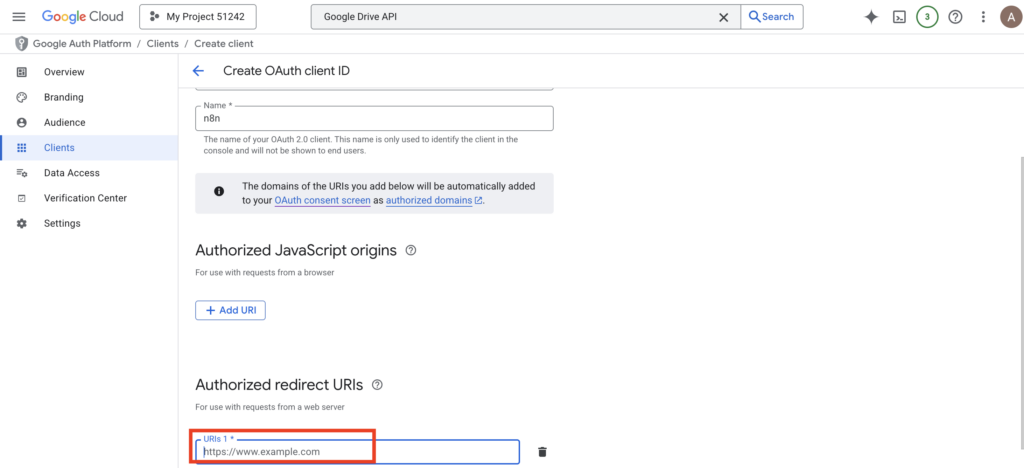
- Authorized Redirect URIs: This is often where users get stuck; this specific URI must be copied from your n8n node settings.
Step 4: Connecting n8n to Google
Now, let’s hop over to your n8n interface.
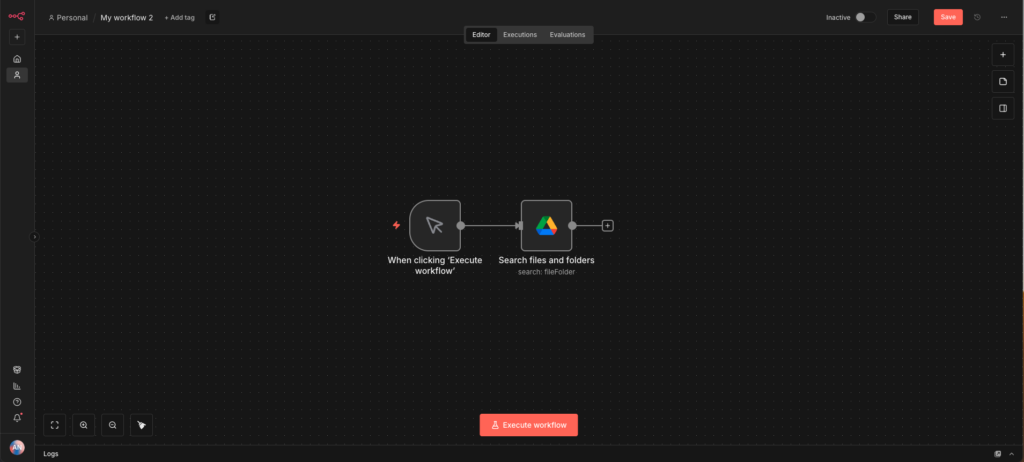
1. Add a Google Drive node to your canvas.
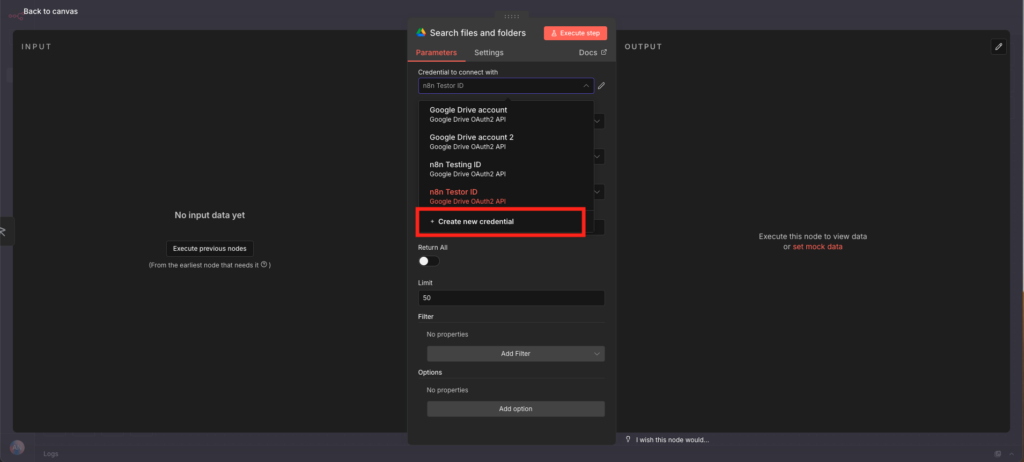
2. In the “Credential” section, click “Create New”.
3. Copy the “OAuth Redirect URL” shown in n8n.
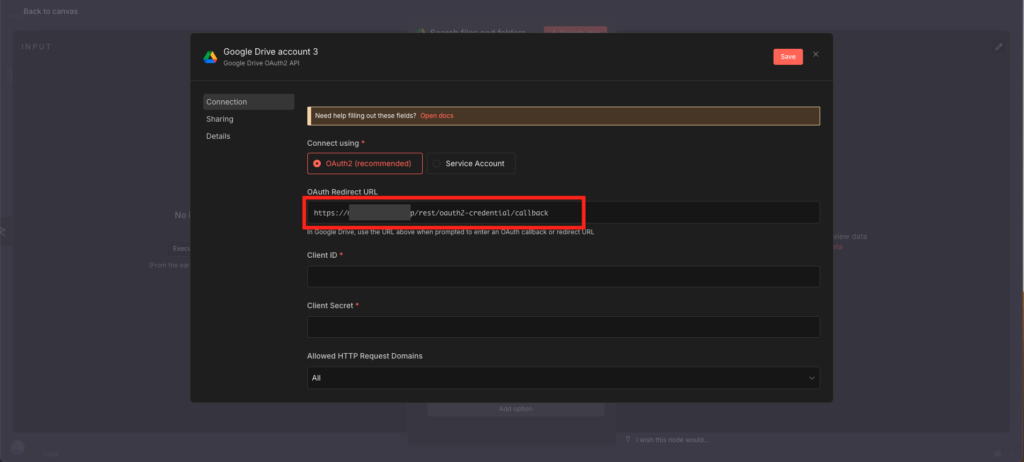
4. Paste that URL back into your Google Cloud Console under “Authorized redirect URIs” and hit Create.
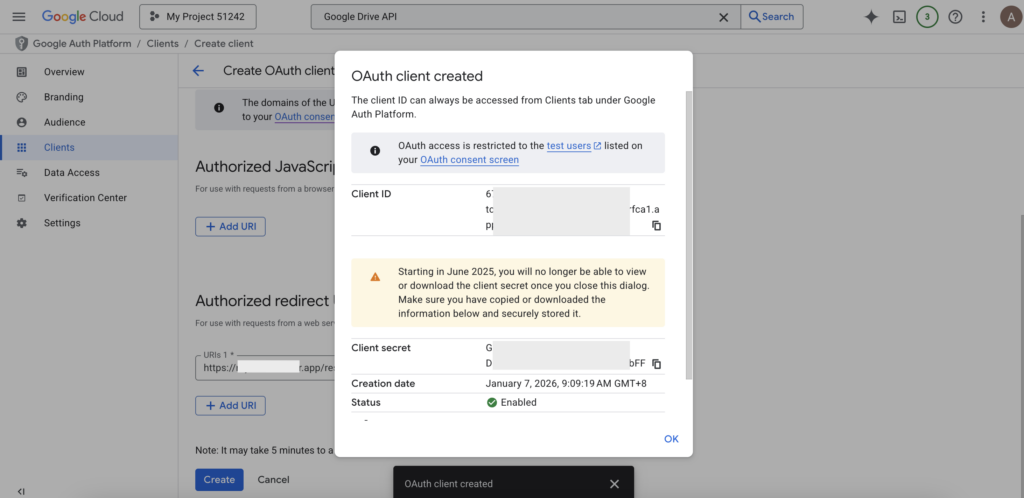
5. Google will give you a Client ID and Client Secret. Copy these and paste them back into the n8n credential window.
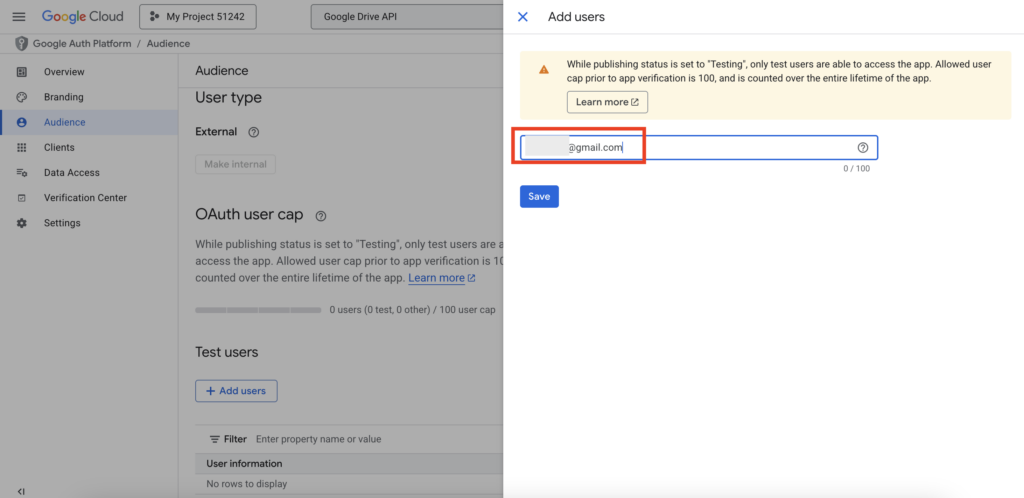
6. Add a Test User: (Crucial Step!)
- On the OAuth Consent Screen page, scroll down to “Test users.” Click “Add Users” and enter your Gmail address.

- If you skip this, Google will block your login attempt.
Finally, click “Sign in with Google” in n8n. Follow the prompts to authorize the connection. When you see a green checkmark, you’re officially connected!
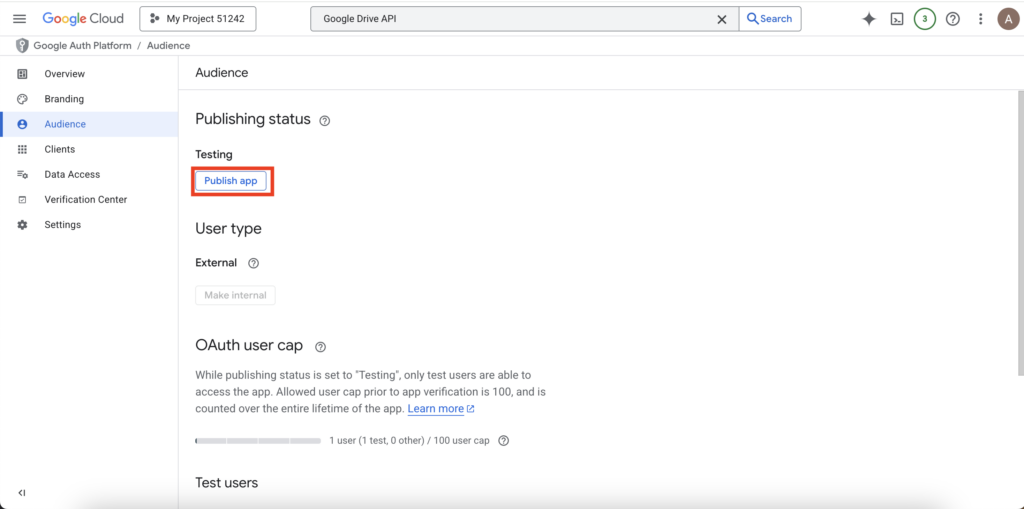
Step 5: The Professional Touch (Publishing your App)
By default, Google puts your “Key” in Testing Mode. This means it will expire every 7 days, and n8n will ask you to log in again. To make your automation permanent:
1. Go back to the OAuth consent screen in Google Cloud. Under “Publishing status,” click “Publish App”.
2. Under “Publishing status,” click “Publish App”. Confirm the choice.
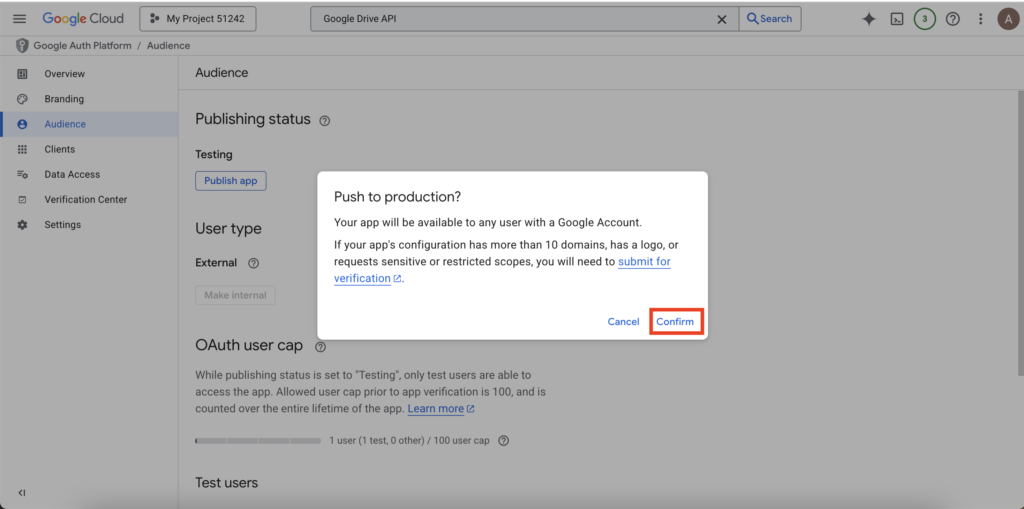
3. Your app is now in “Production” mode, and your connection won’t expire!

What Can You Do Now?
Now that the bridge is built, the possibilities are endless:
- Auto-Backup: Save your n8n workflows to Drive every night.
- Smart Sheets: Automatically log AI-generated summaries into a Google Sheet.
- Gmail Agent: Have an AI read your emails and save attachments directly to a specific Drive folder.
Congratulations! You’ve just moved from an AI “user” to an AI “architect.”